Learn how to start creating beautiful, scalable management reports in Futrli Advisor's Report Builder.
- How to create your very first Printed Report
- The three different ways Printed Reports can be created in Futrli
- What report defaults are and how to set them
- - - - - -
Getting started with Printed Reports
To create your first Printed Report you’ll first need to navigate to the Report Builder. To do so, select 'Printed Reports' from the main navigation menu.
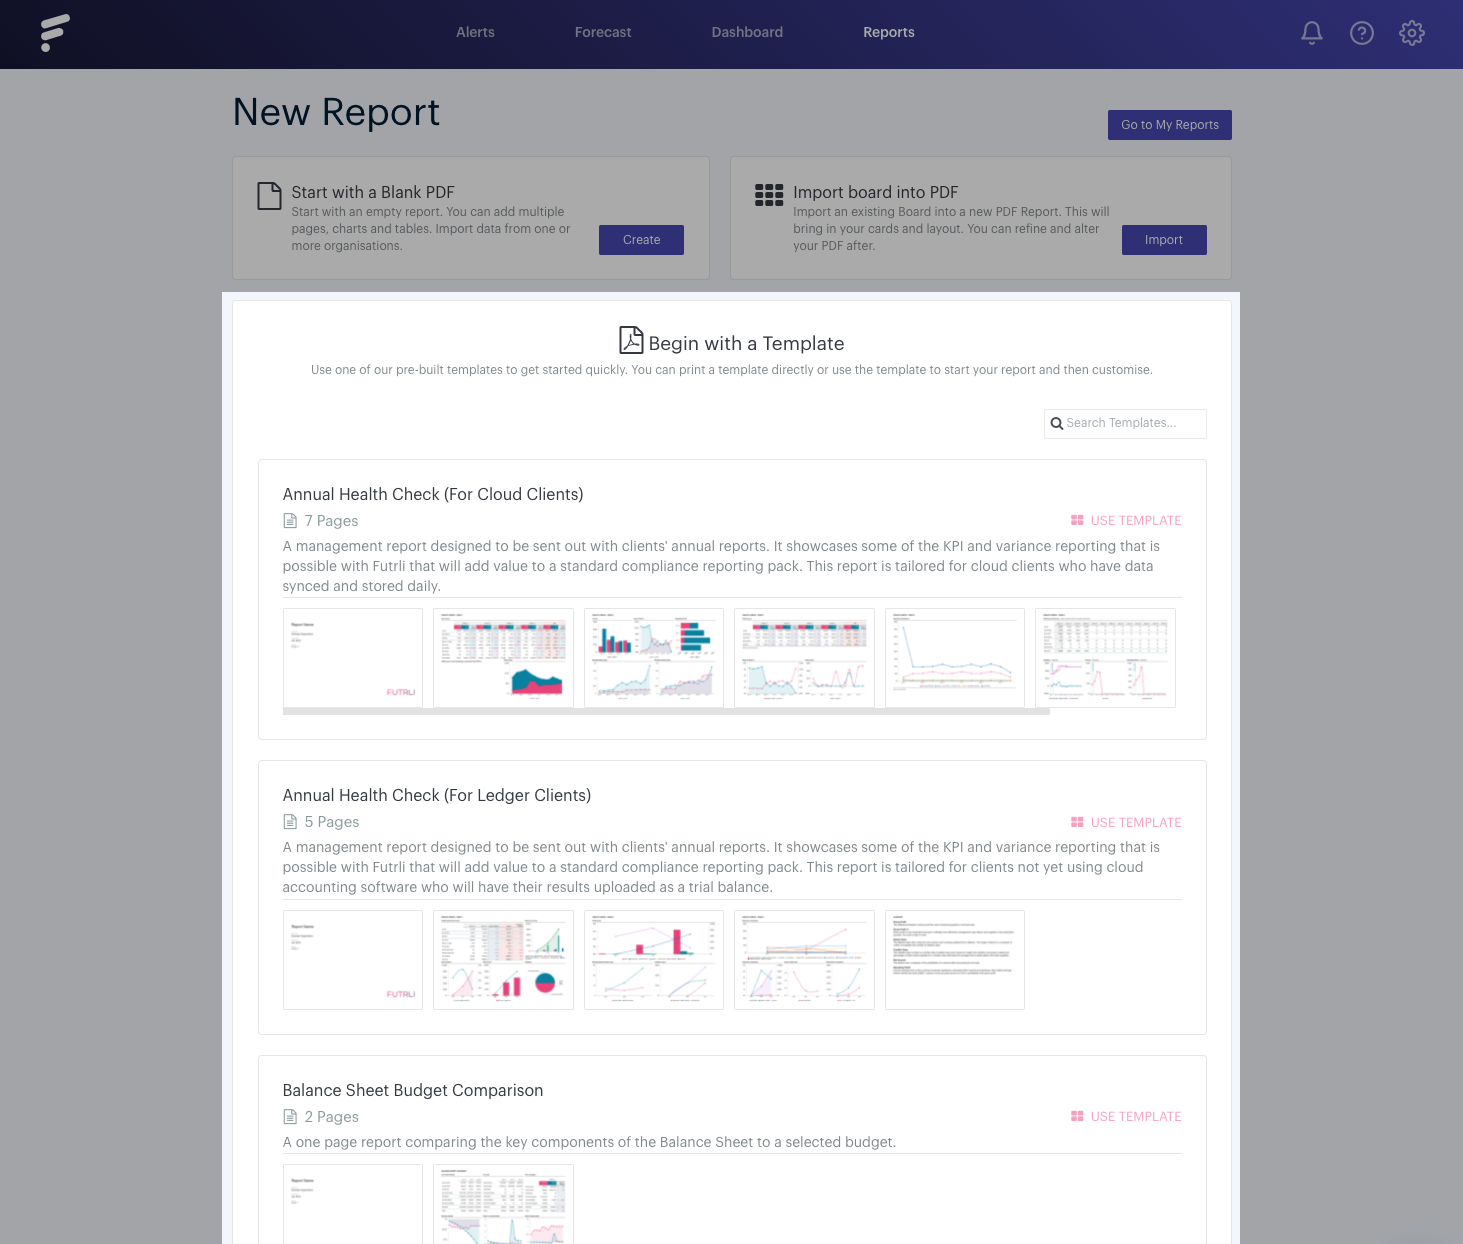
First time here?
If this is your first time using the Report Builder and you’ve yet to create any reports, you’ll find yourself immediately dropped on a page with options to create that first report. Don't worry, we'll run through your options in this guide:
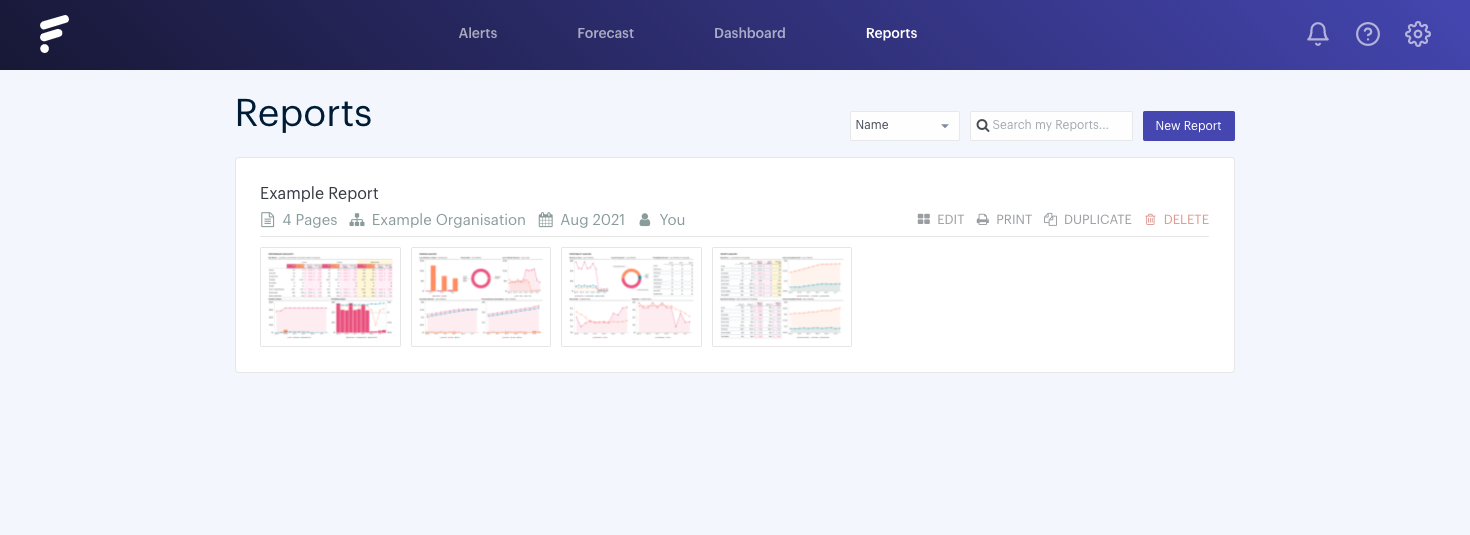
Not your first rodeo?
If you’ve already created at least one report, clicking Printed Reports from the main navigation will instead take you to the Report Builder home page. Here you’ll find all of the reports you’ve created already listed which you can conveniently access, edit, copy, print or delete them:
- - - - - -
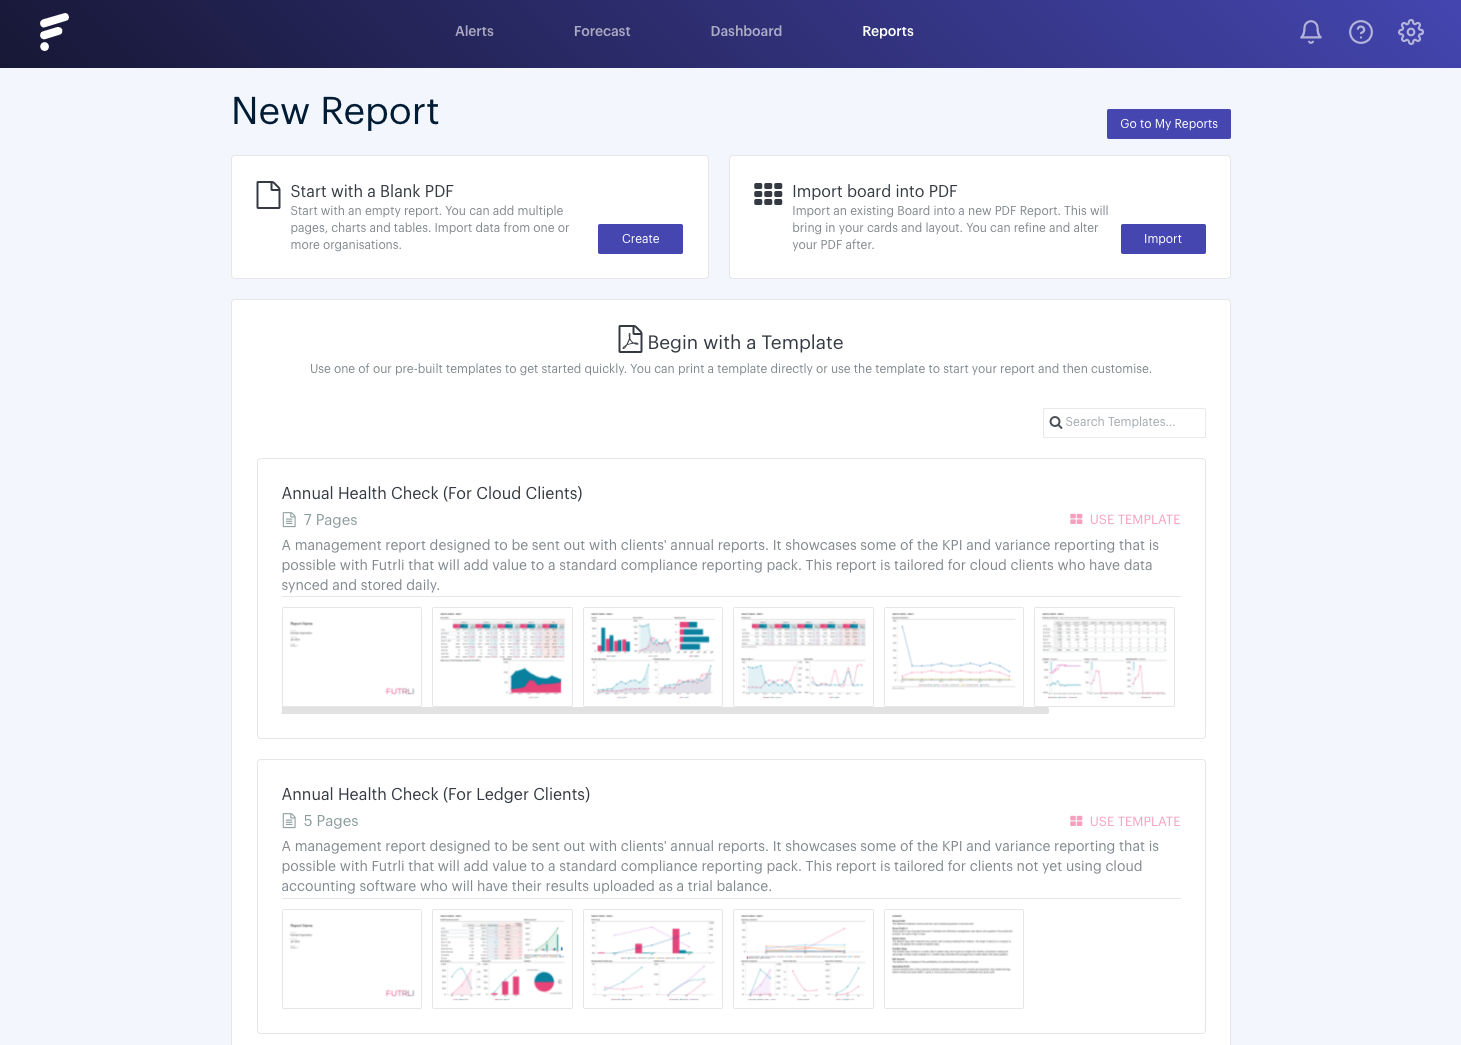
Creating a new report - your options
Using a template
You can start creating management reports in seconds using one of our pre-built templates. These allow you to create meeting-ready, printable reports at the click of a button, which you can then customise or simply export to PDF.
To create a report from a template, click the 'Use Template' button adjacent to the template you wish to use:
Creating a Printed Report from a board
You can convert any of the boards you’ve created in Futrli Advisor into a Printed Report, allowing you to take those cards you've produced and morph them into an editable report:
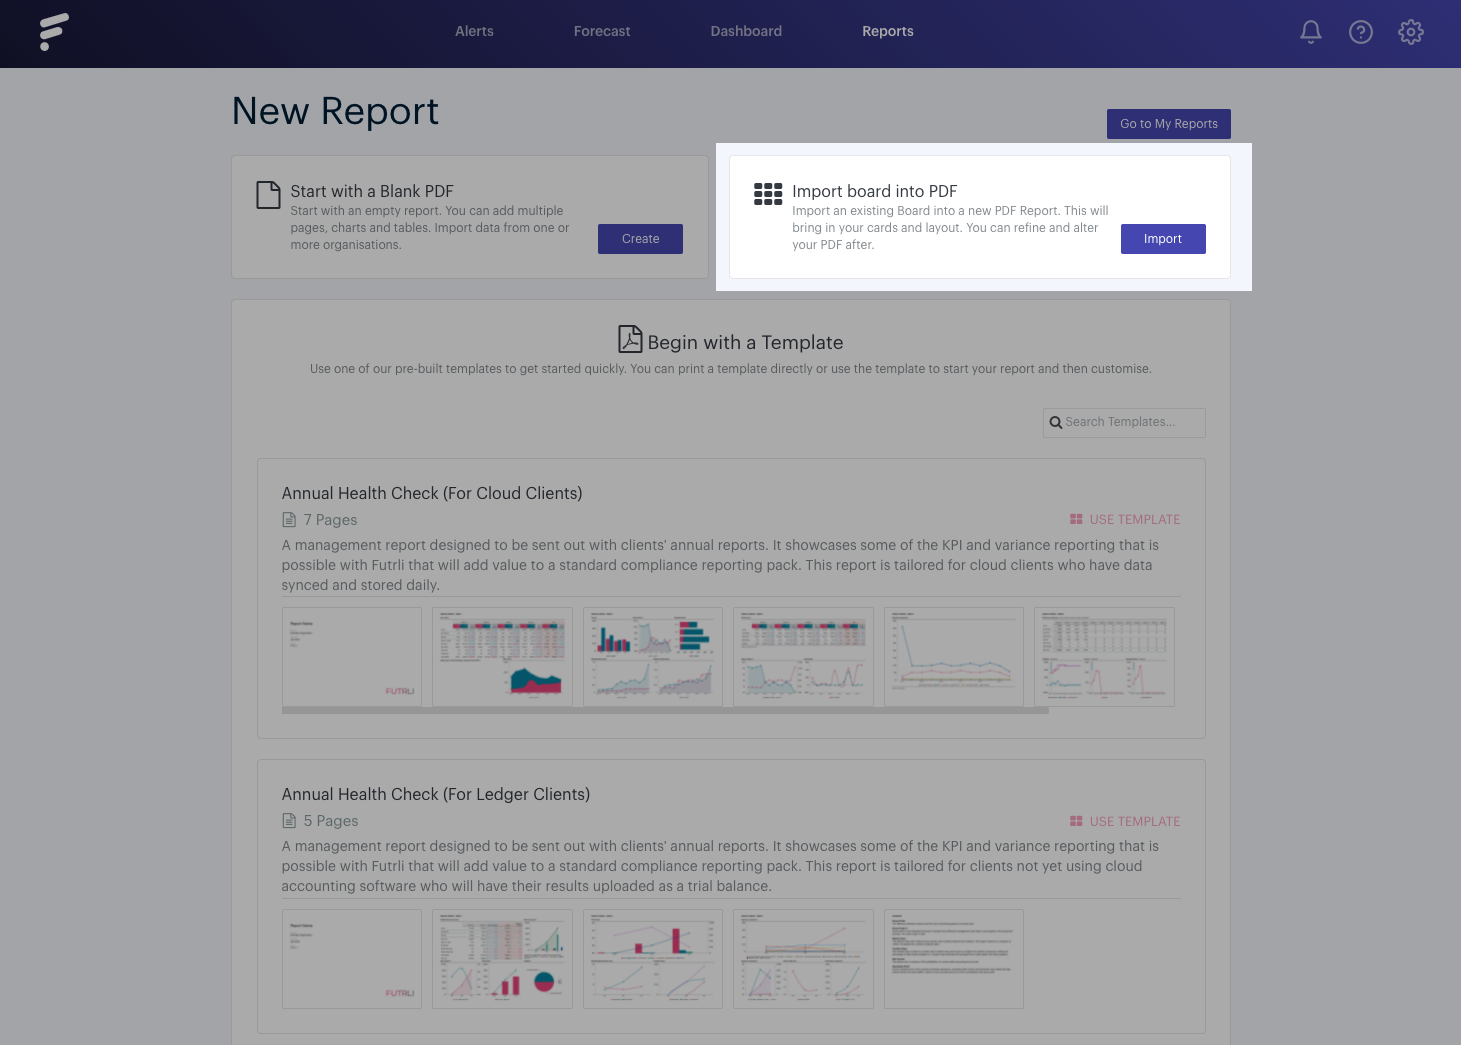
After hitting 'Import', you’ll be prompted to enter a name for your report and enter your report defaults, before being asked to select the board you wish to convert to a report. You’ll find every board in your account listed here. Simply click the board you wish to use and it will be imported and converted into a printable report, which can then be edited, saved or printed.
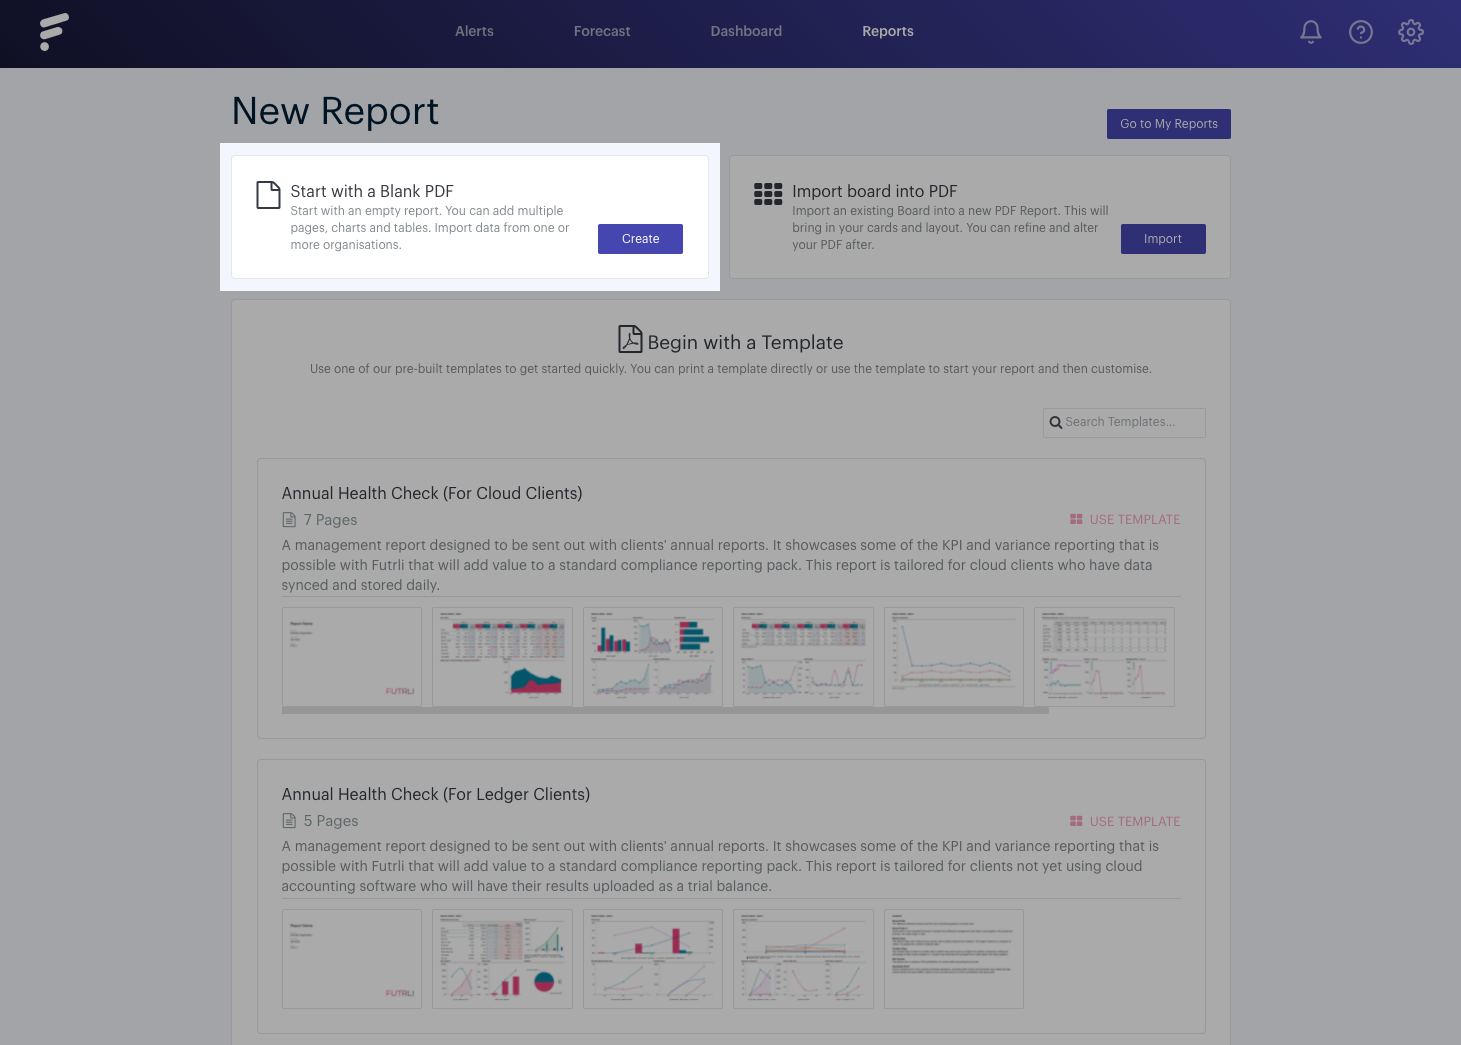
Creating a Printed Report from scratch
For total flexibility, you can create a report from scratch, giving you a completely blank canvas to play with! To create your new playground, select 'Create' in the 'Start with a Blank PDF' box, enter a name for your report and choose your desired report defaults:
- - - - - -
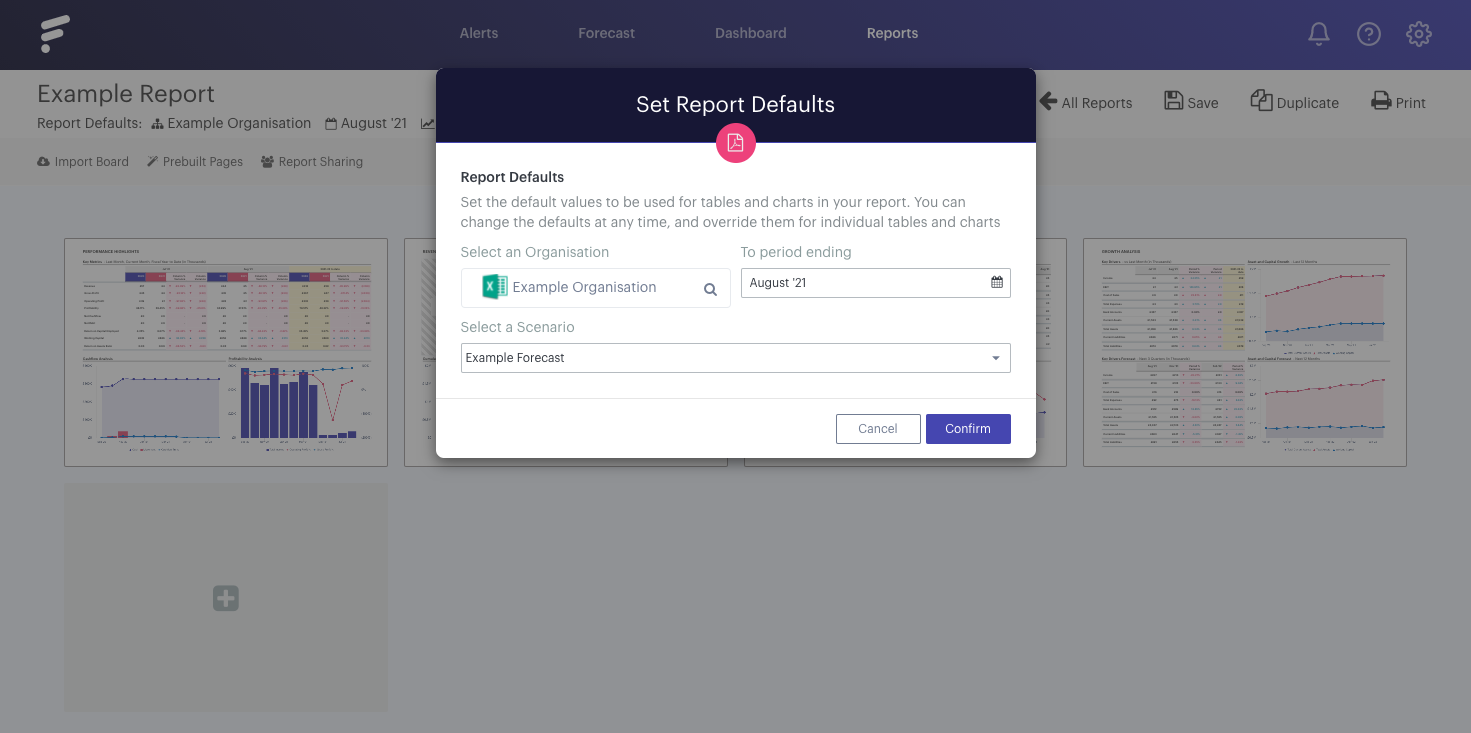
What are report defaults?
Whenever you create a new Printed Report you’ll be asked to set the default values you’d like to use for tables and charts. By setting defaults, you can quickly add additional pages, tables and charts to your report without having to re-select the organisation, time period and the forecast you wish to report on each time.
The default settings you choose can be changed at any time, so don’t worry if you decide later you’d like to use a different forecast! You can also override these defaults on an individual basis on particular tables and charts, giving you complete control to set up your report the way you want.
Setting report defaults
When prompted, set your report defaults by selecting the default organisation you wish to use, the default time period you wish to report on and the default forecast you’d like to be selected when reporting on forecasted data. You'll need to create a forecast for your organisation to create a Printed Report.
Note: When creating a report from scratch or by importing a board, you’ll also be asked to enter a name for your report within this window: