You can create organisations within Futrli Advisor using data from any accountancy platform via a CSV file. In this guide, we're going to walk through creating a manual organisation for the first time and then importing data into it.
- - - - - -
Step One
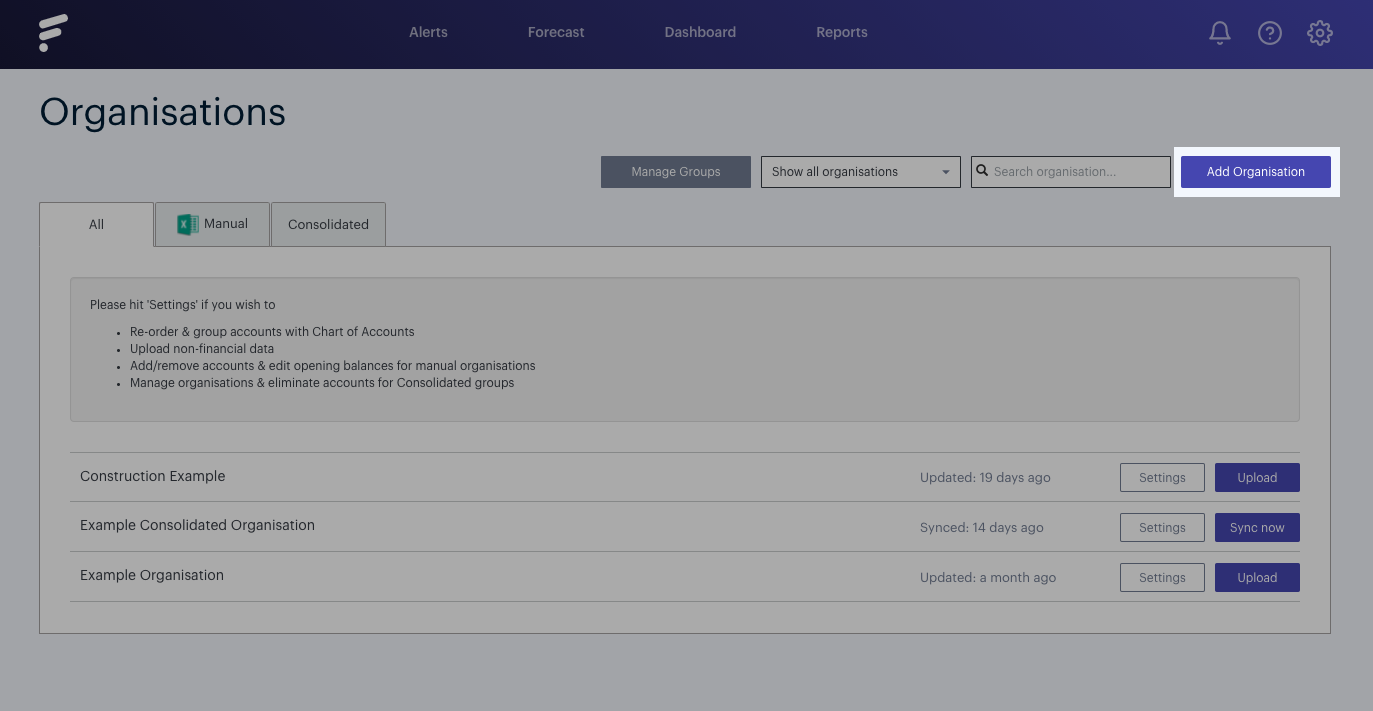
Before we can start importing our data, we first need to create an organisation to import that data into. To do that we need to navigate to the Organisations section within Futrli Advisor. Here we'll find an overview of all of the organisations which we have access to as well as the options to manage those organisations, to upload data to them, delete them and to add new ones:
Step Two
To add a new organisation, click the Add Organisation button.
Step Three
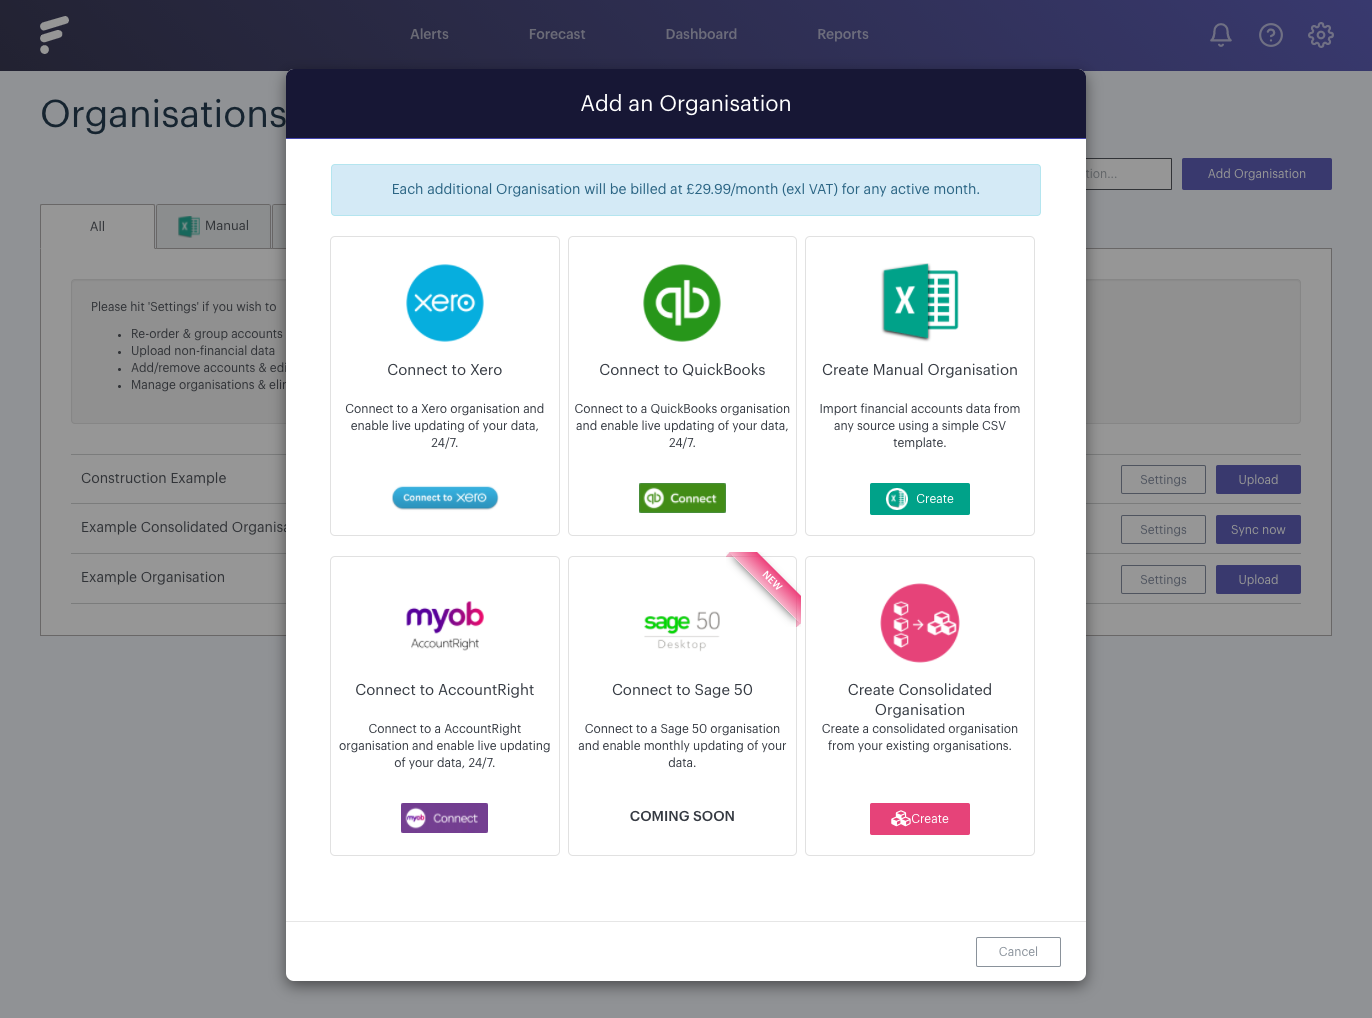
You'll be asked to select what type of organisation you wish to create. Select Create Manual Organisation:
Step Four
You'll be asked to give your new organisation a name, to select the industry category, to select your default currency and the last month in your financial year. The latter allows Futrli Advisor to perform accurate financial year to date and financial year total calculations. Once you are happy with your selections, hit Create.
Step Five
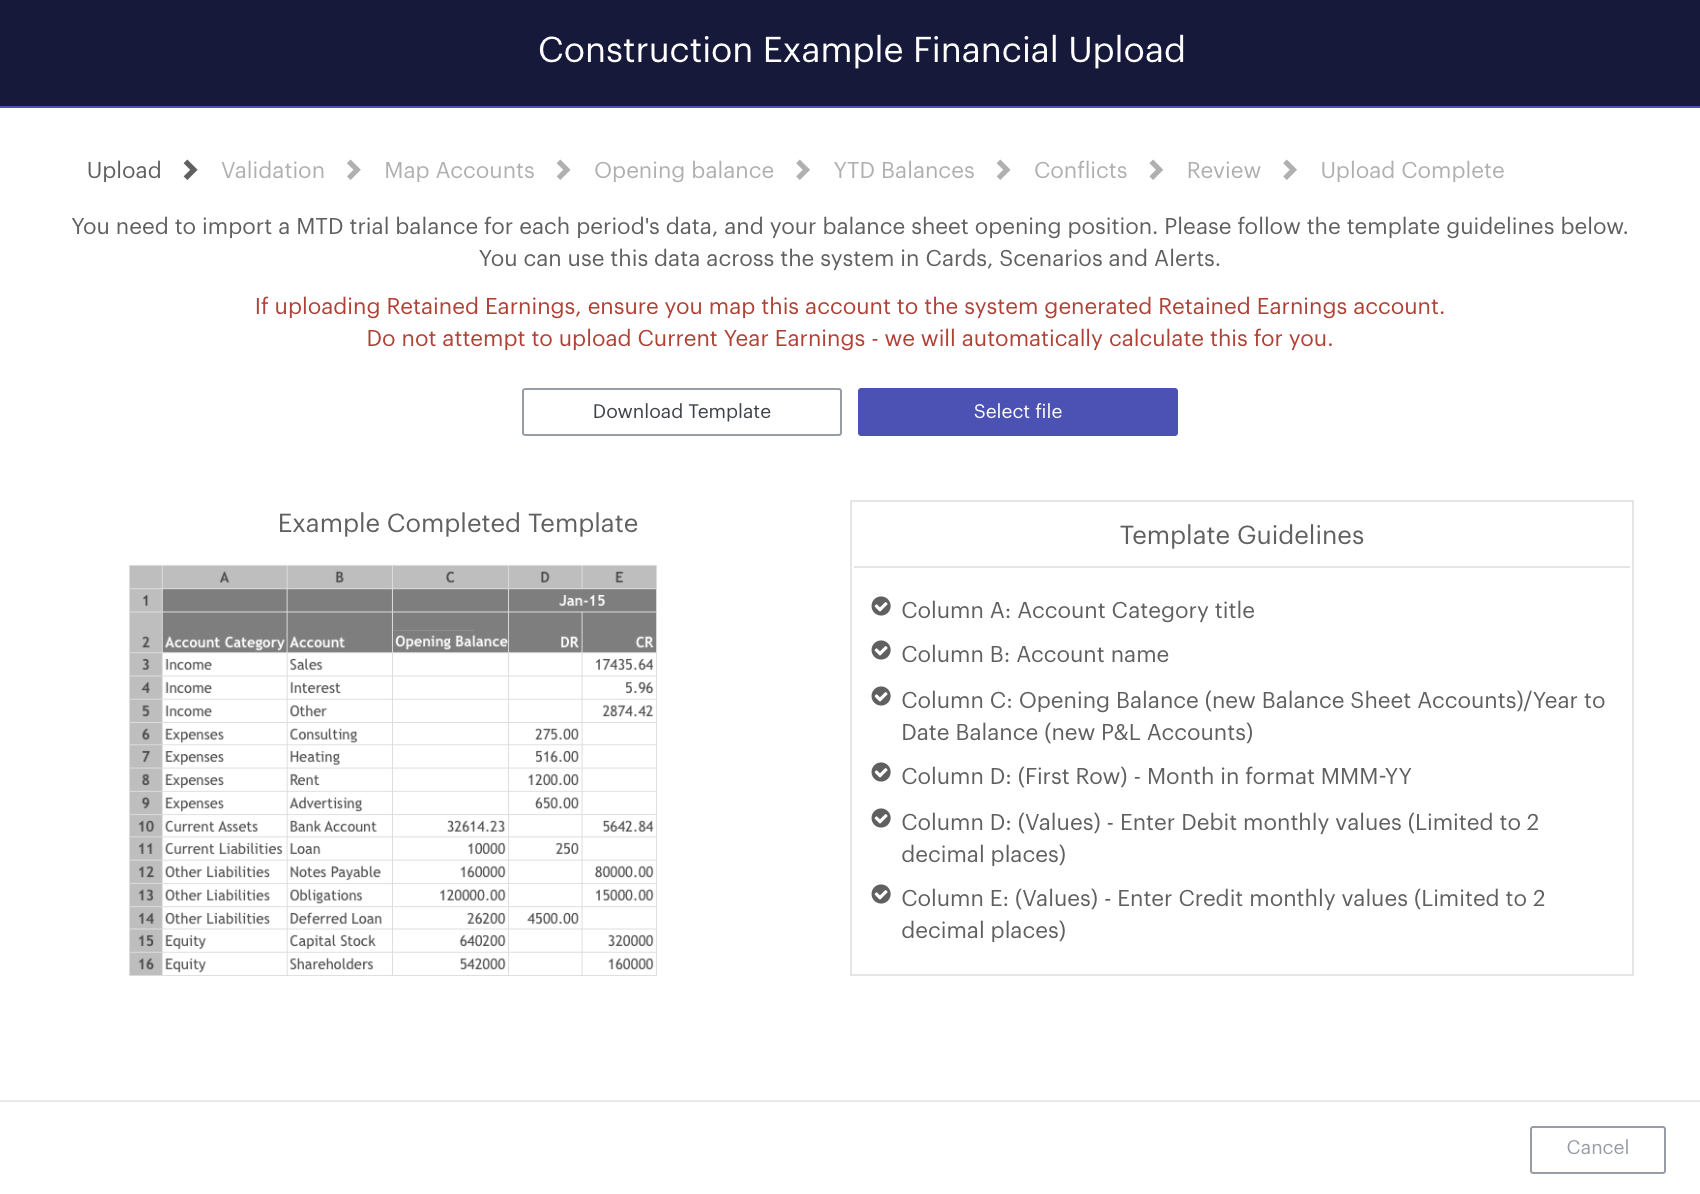
Your organisation will now have been created and will sit in your organisations list. After selecting Create, you will be automatically redirected to the manual organisation upload wizard where you can import your financial data. The data you import should be structured in accordance with Futrli Advisor's financial data guidelines, otherwise, you'll receive an error message when importing.
An overview of these guidelines can be found in the bottom right of the wizard titled Template Guidelines or in the following help guide.
You'll also find the option to download an import template. If you are importing your financial data for the first time we would recommend selecting this now and then pasting your data into the appropriate fields. Select Download Template to do so:
Step Six
Open the downloaded file. First, we're going to add the accounts which we wish to import into Futrli Advisor. Account lines can simply be pasted under the account heading. Please note, you do not need to import account categories, this will be generated for you automatically.
The default account categories within Futrli Advisor are Income, Cost of Sales, Expenses, Other Expenses, Other Income, Bank Accounts, Current Assets, Non-current Assets, Fixed Assets, Current Liabilities, Non-current Liabilities and Equity. We would recommend ensuring that you enter the appropriate Futrli account category adjacent to each account.
Please note, Current Year Earnings should not be uploaded into Futrli as these will be generated automatically for you:

Step Seven
Next, to each account line, you can enter an opening balance. Doing so is optional. If you haven't finalised your previous year end accounts, the opening balance will be the year to date figure for P&L lines and the balance of balance sheet lines for the month from which you wish to begin importing data. The appropriate credit and debit behaviours will be applied automatically based upon the category in which the line sits.
Values entered for income, liabilities and equity lines will be treated as credits and values entered for costs of sales, expenses, bank accounts and asset lines as debits. If you have a negative balance for a line, for example, if your bank accounts balance was in the red, simply add a minus symbol in front of the figure to indicate this:

Step Eight
Enter the monthly figures you wish to import for each line below the appropriate date. Dates should be formatted MMM-YY (e.g. JAN-18) and each should have DR directly below and CR below and to the right. Debits should be entered under DR and Credits under CR. You can import data for as many periods as you wish. Once happy, export your file to CSV:

Step Nine
In the upload wizard click the Select File button and then select the file you wish to upload.
Step Ten
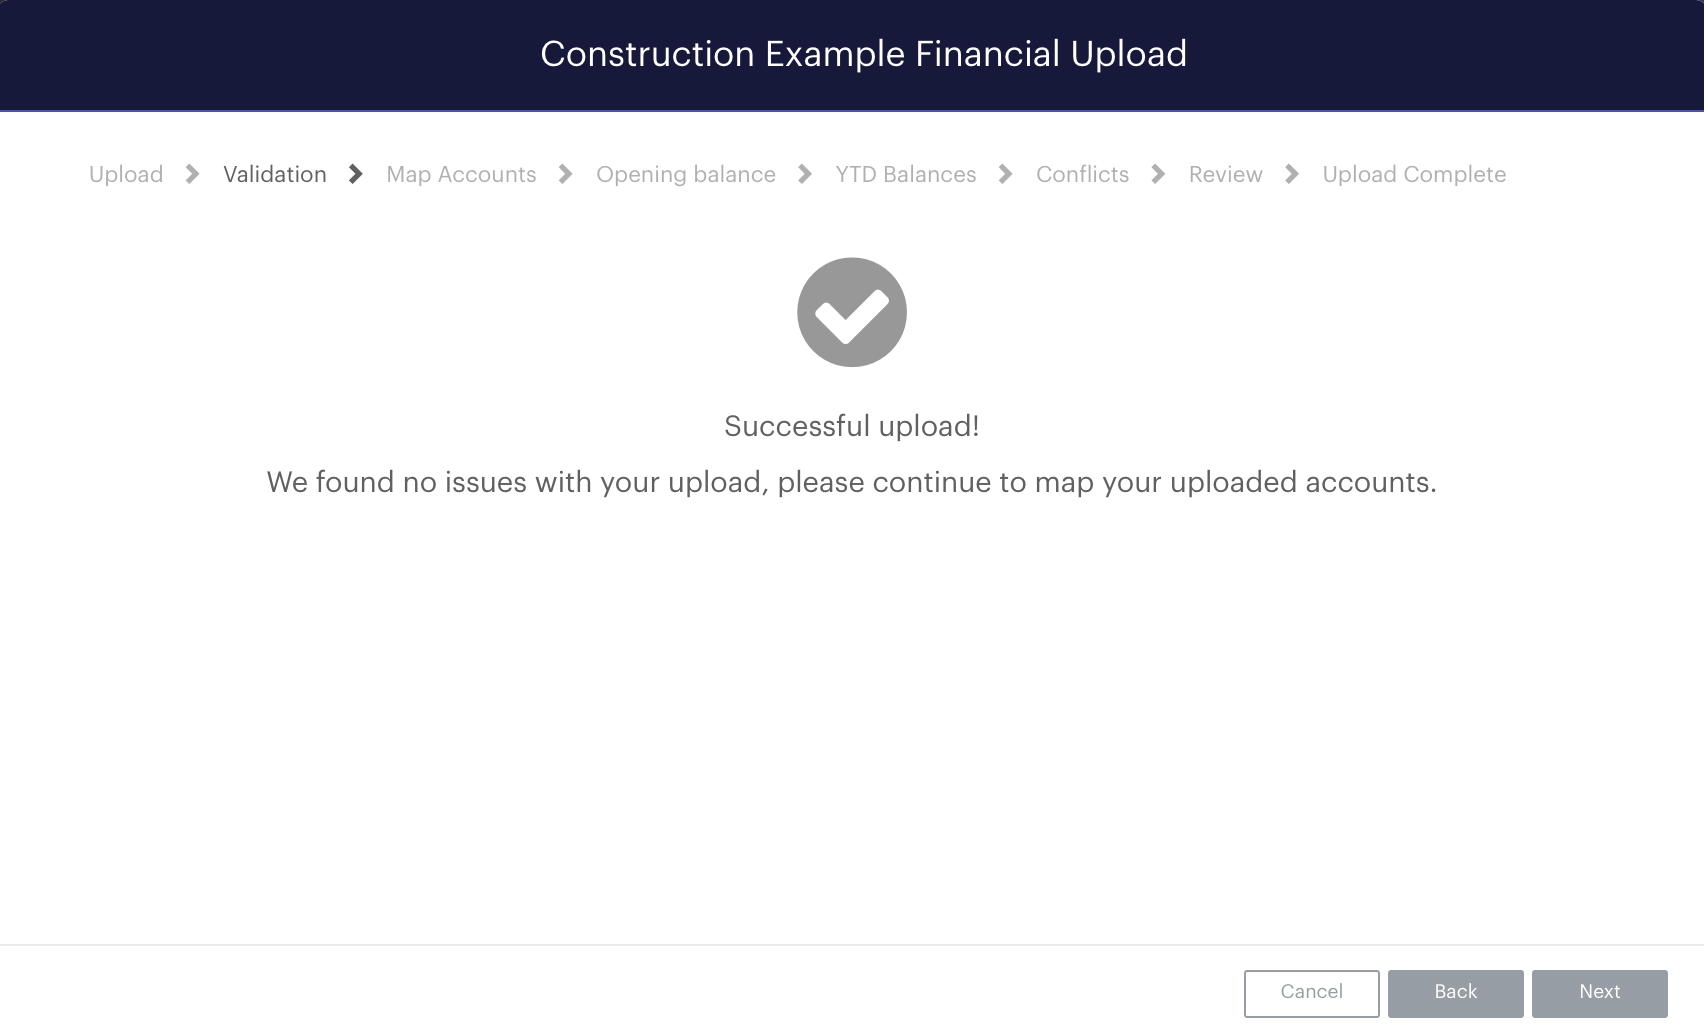
Provided your data has been formatted correctly your file will then be successfully uploaded. Click Next:
Step Eleven
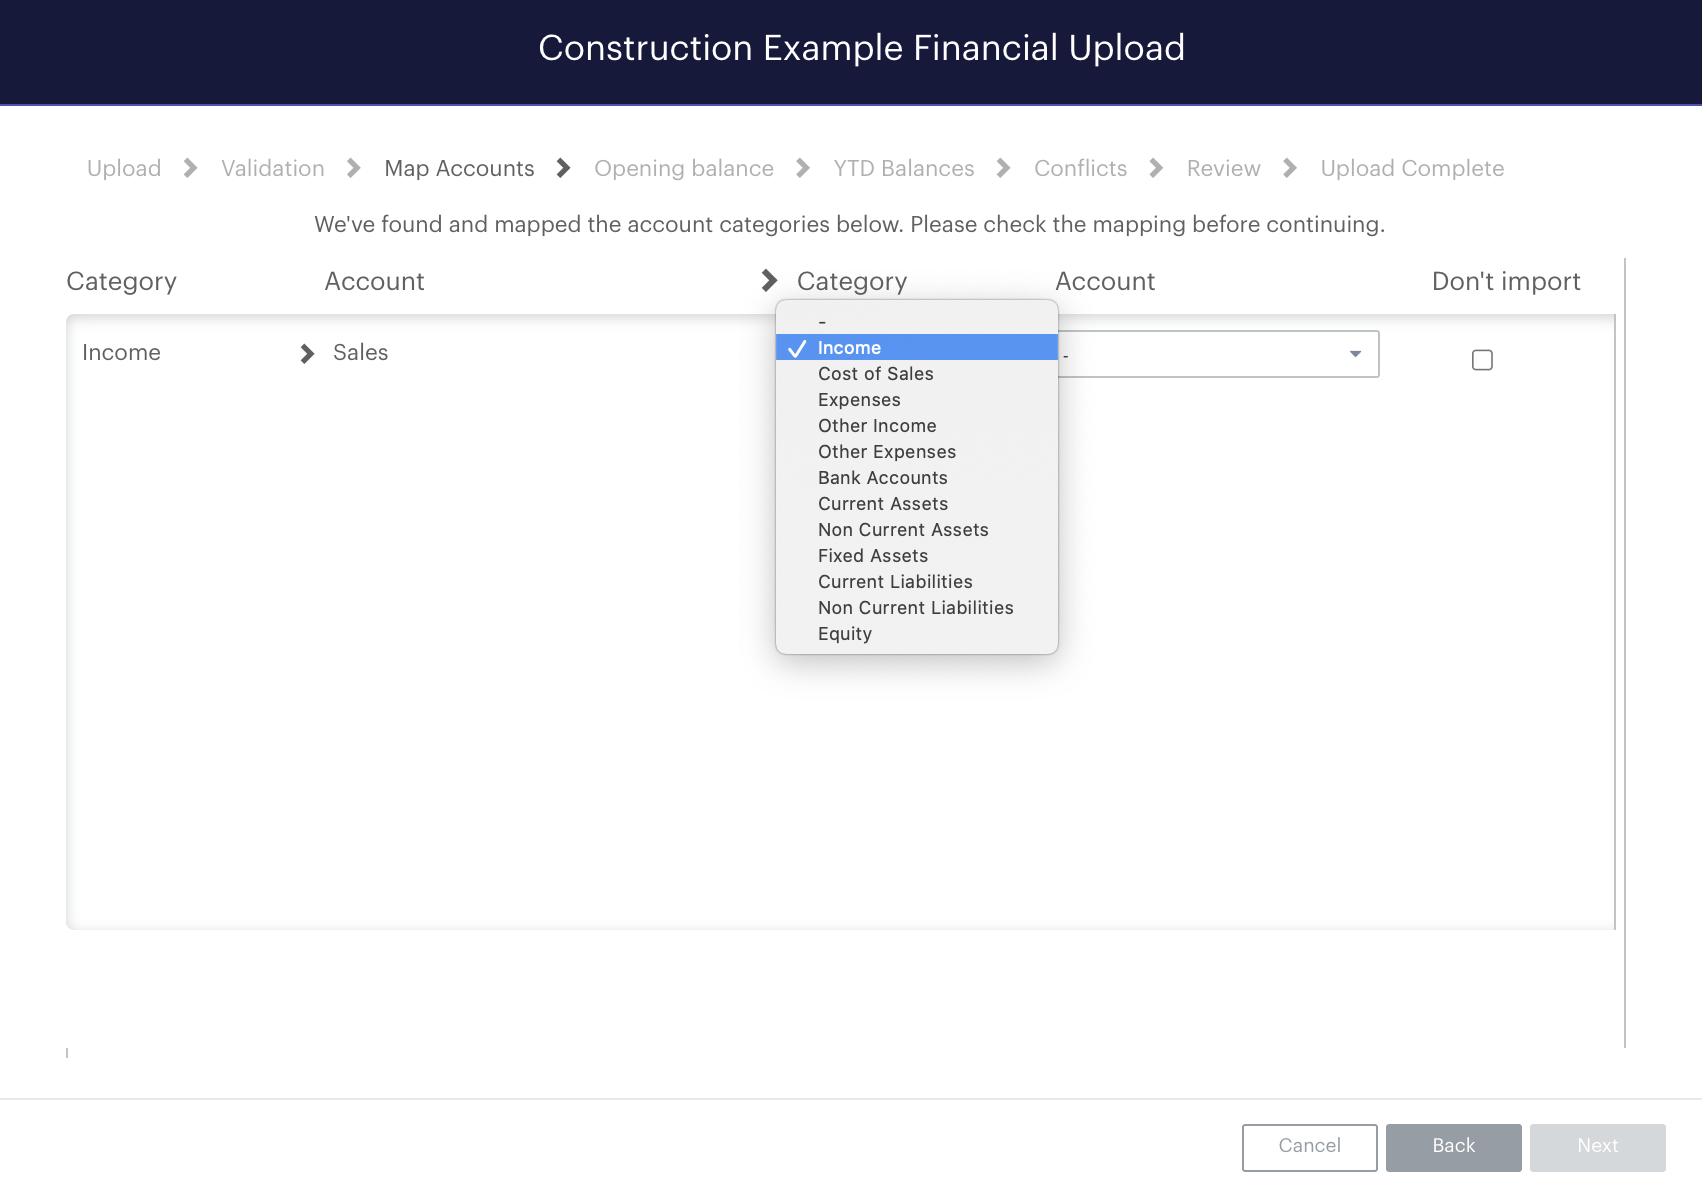
Provided the appropriate account categories have been entered, no further mapping should be required. If any mapping is required, simply select the appropriate category using the dropdown and then Create New to create a new account line.
(Please note, Retained Earnings lines should be mapped to the system generated Retained Earnings line. Do not select Create New)
Press Next to continue:
Step Twelve
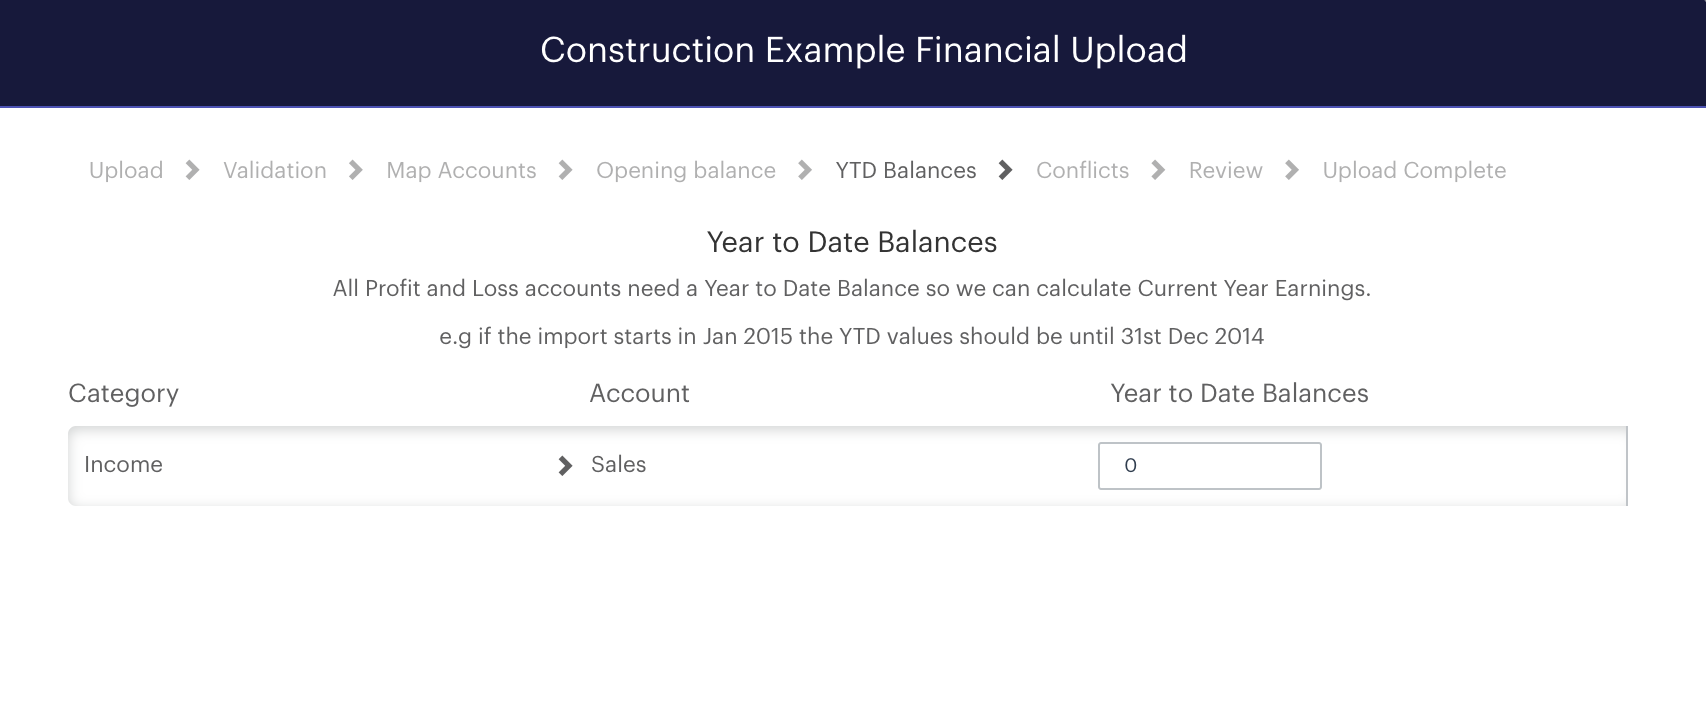
In the next steps, opening balances and YTD balances, you'll see an overview of the balances you have entered. These can be changed here if you decide to alter a figure before completing your import:
Step Thirteen
Pressing Next again will move us to Conflicts. As this is the first time you've uploaded data for the organisation there will be no conflicts displayed. If however you performed a subsequent upload containing data for already uploaded months, this is where you could select whether to replace the existing data in the system which conflicts with your new upload, or whether to not import any conflicting data.
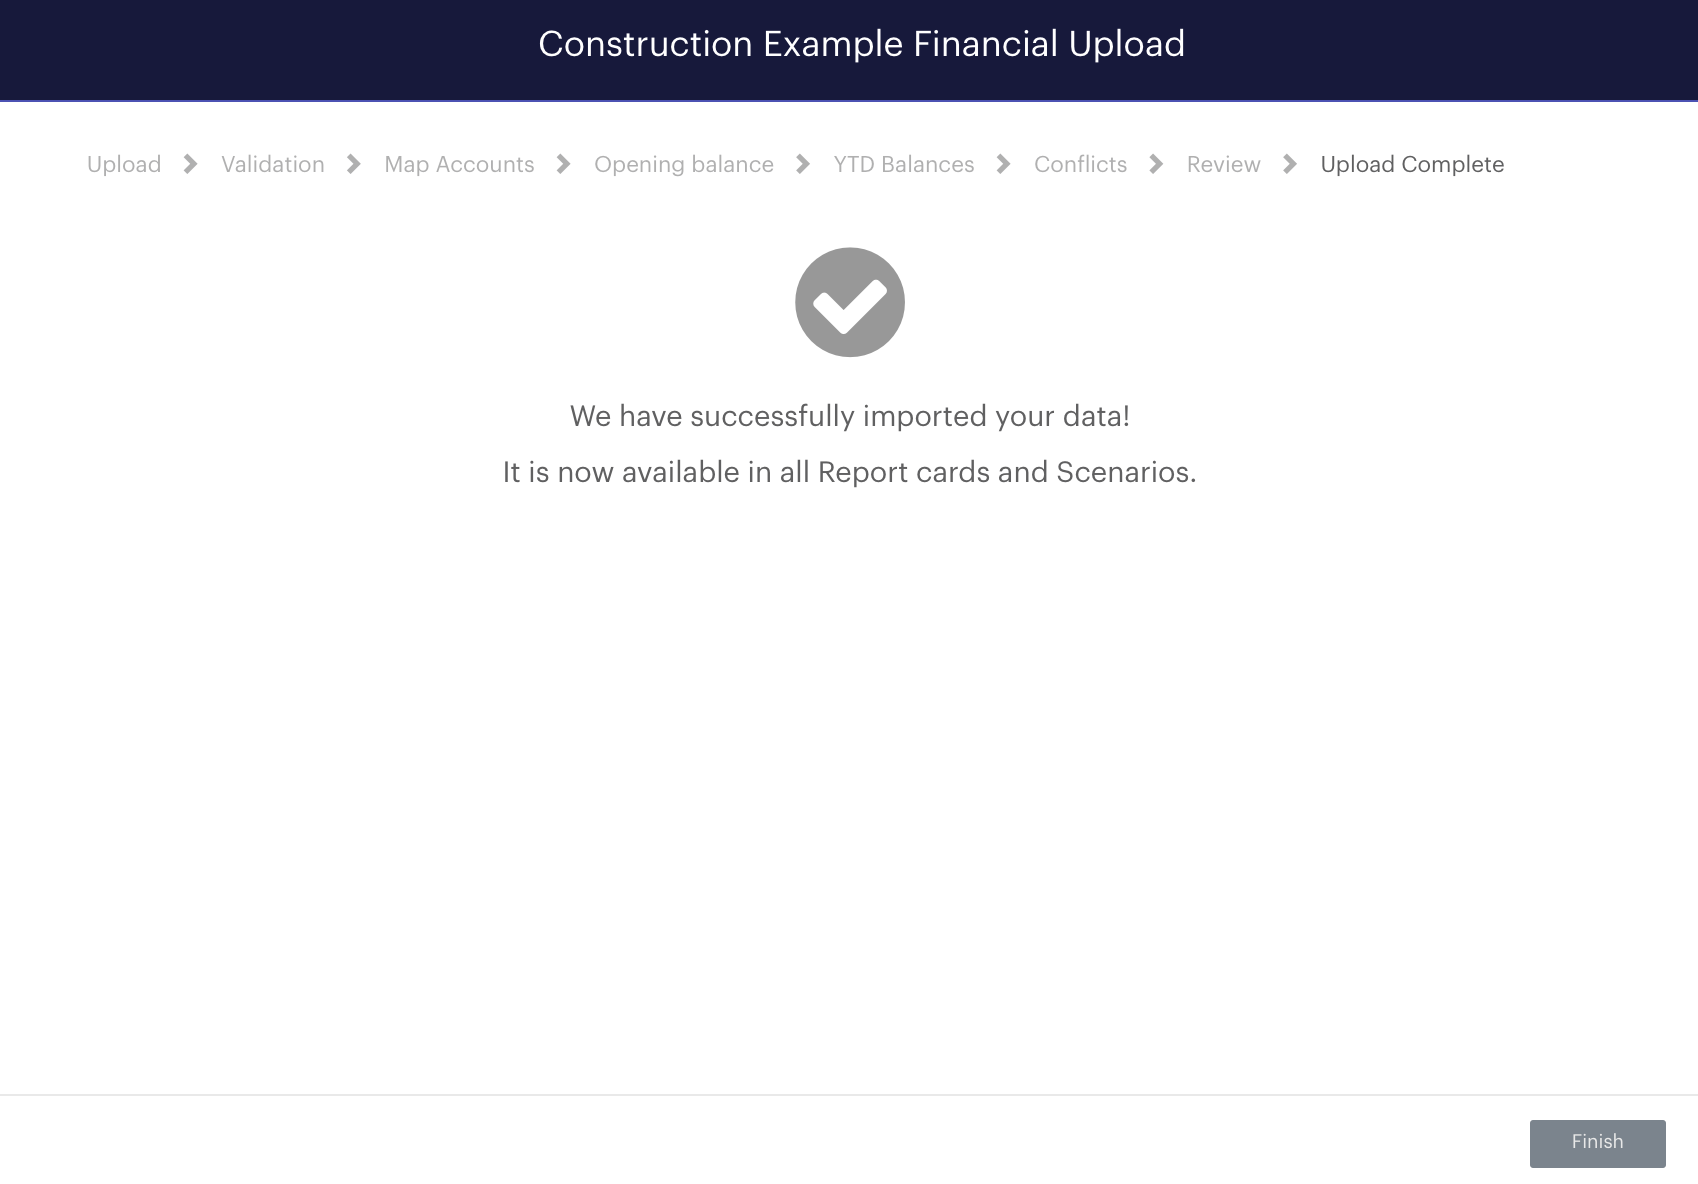
As there are no conflicts, you'll also find nothing displayed in the Review Stage. Press Next on both and then Done in the final step to complete your import. Your new organisation will now have data for the periods uploaded, and you can start reporting, forecasting and setting alerts for it:
