Find out how to add blank or prebuilt pages to a report, rename pages and edit the layout of pages you’ve already created.
Once you’ve created a report you can start adding and editing pages. In this article we will learn:
- About pages
- How to add prebuilt pages to a report
- How to add blank pages
- How to rename pages
- About page layouts
- How to select and edit page layouts
- - - - - -
What are pages?
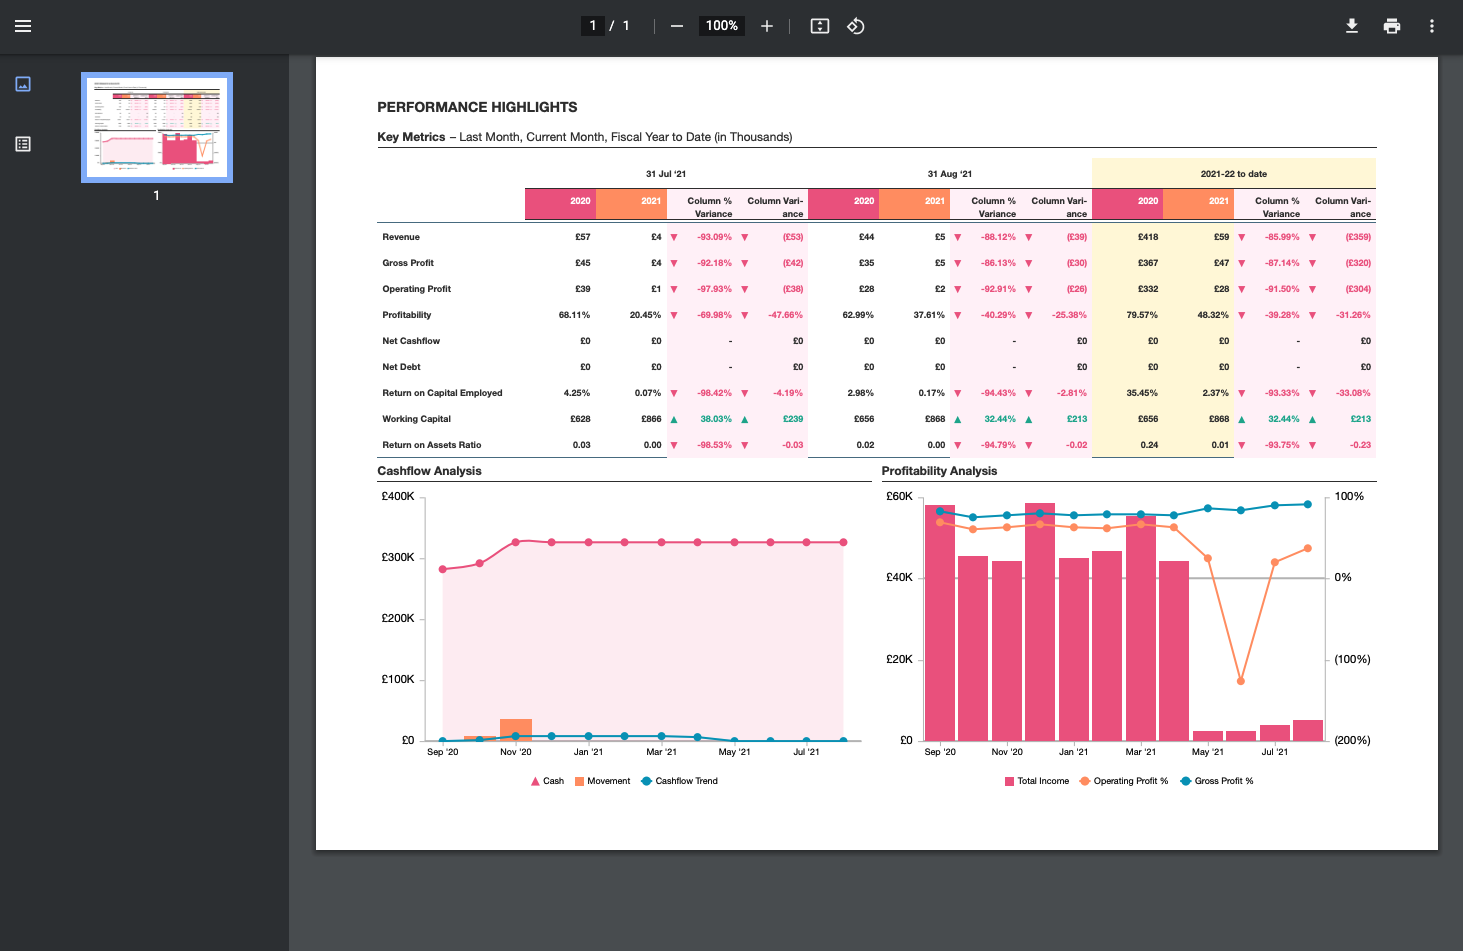
Every report you create in Futrli Advisor's Printed Reports feature is broken down into pages. Each page represents a single sheet of paper and is a live, editable preview of how your report will export to PDF. Here’s one we exported earlier:
Exported to PDF:
- - - - - -
Adding prebuilt pages to a report
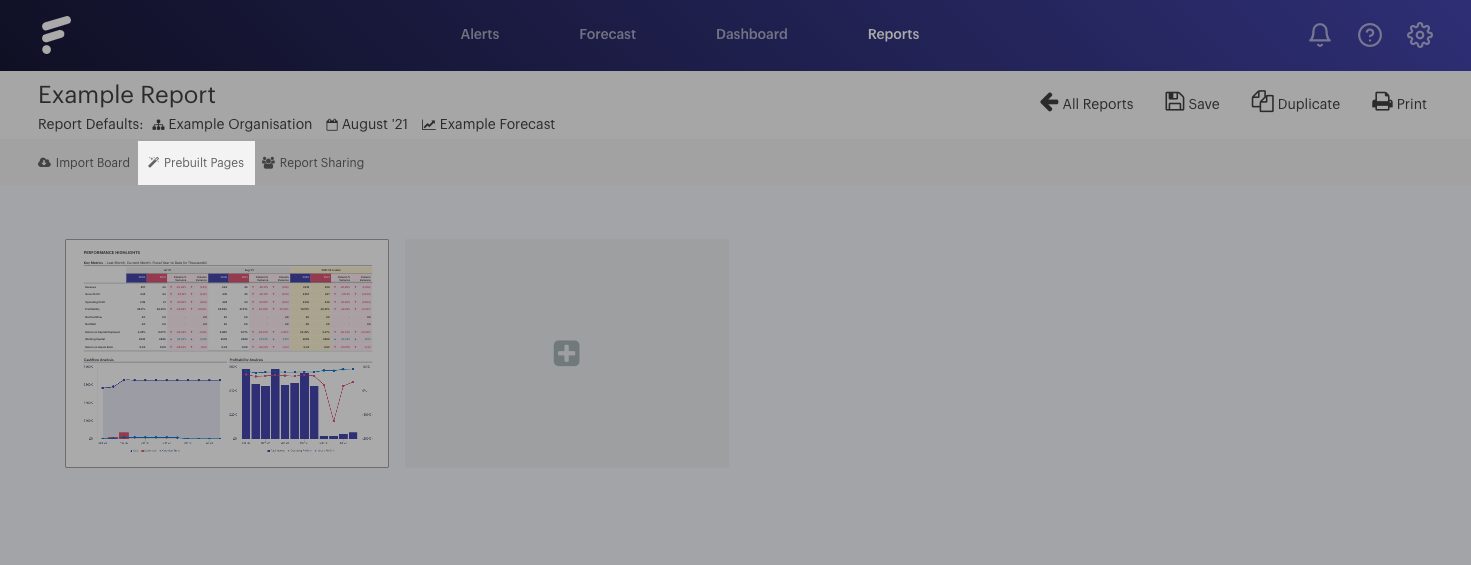
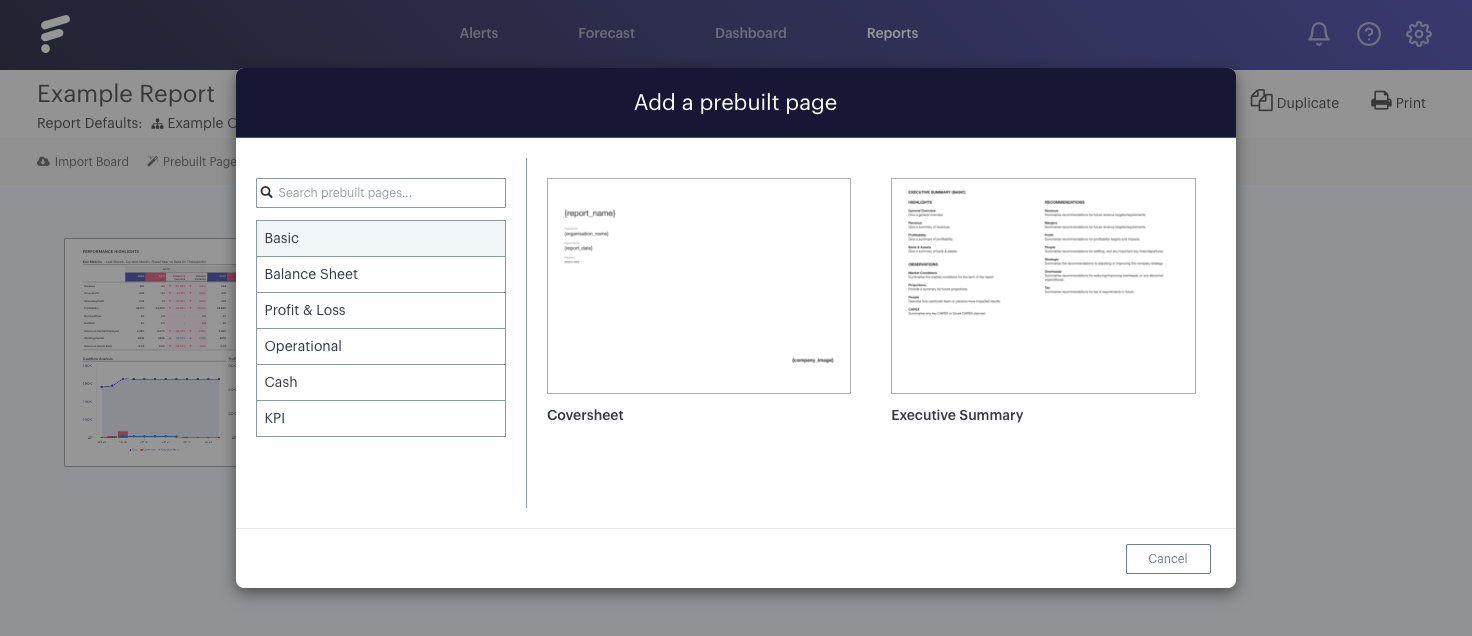
To save you time when building a report, you can use our prebuilt pages. These are page templates we’ve already created for you, which you can simply select and use with your own organisation’s data. To add a prebuilt page, hit the 'Prebuilt Pages' button in the top left of your report:
This will load our library of page templates. We’ve placed each template into a descriptive category to make finding the perfect page template that little bit easier. Select between categories or use the search bar to find the template you’re looking for, then click it to add it to your report:
- - - - - -
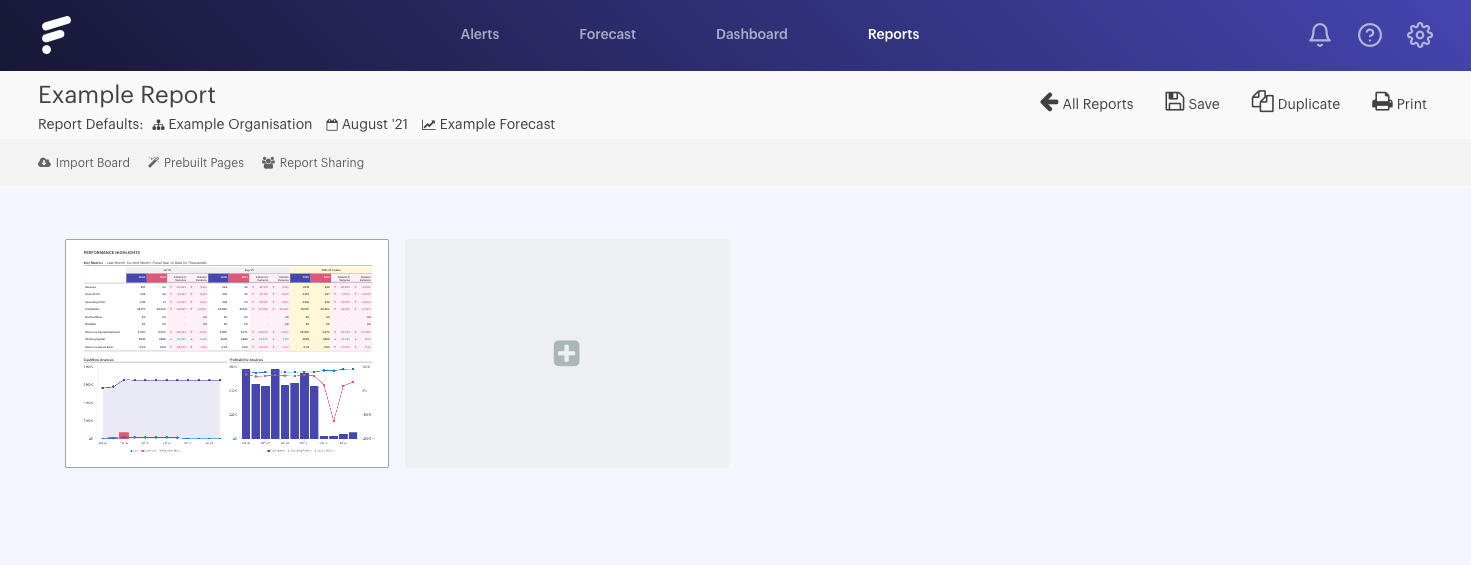
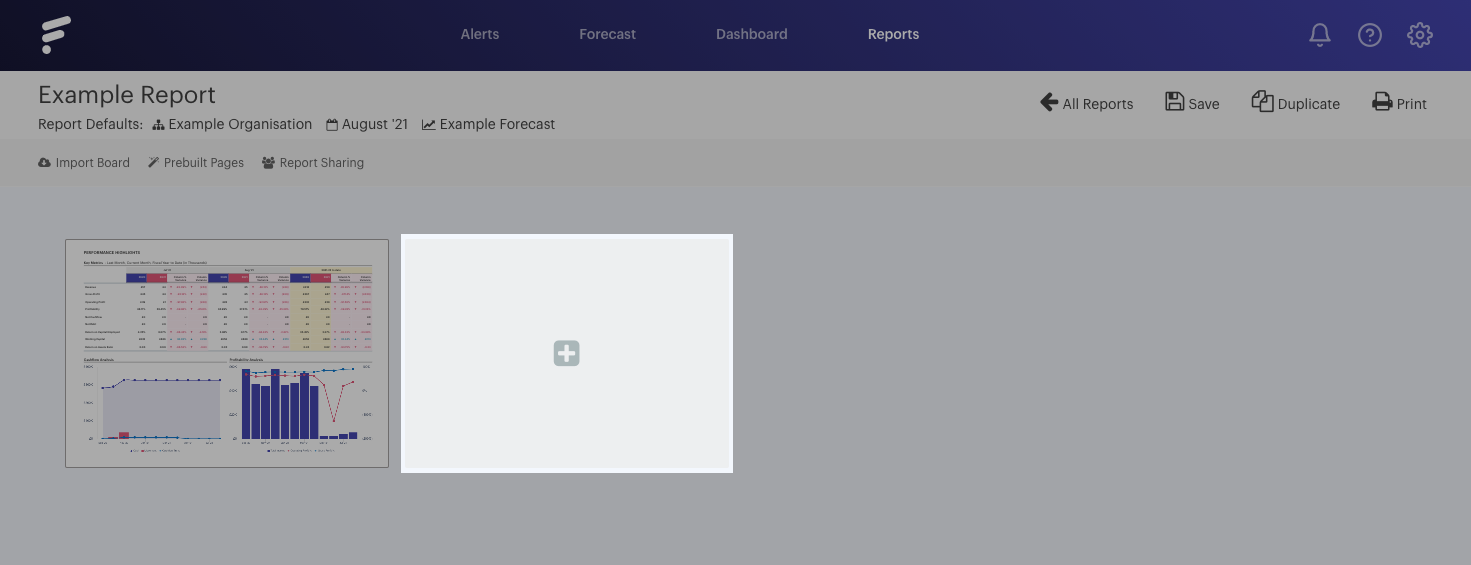
Adding blank pages to a report
If you'd rather build a report from scratch, you can! To add a blank page to your report, just hit the '+' button:
- - - - - -
Renaming pages
Every page has a title, which can be customised at any time. We recommend you use this to explain the page’s content, whether it be ‘Balance Sheet vs Budget’, ‘Profit & Loss Summary’ or ‘Kevin’s Amazing Collection of Cat Pictures’.
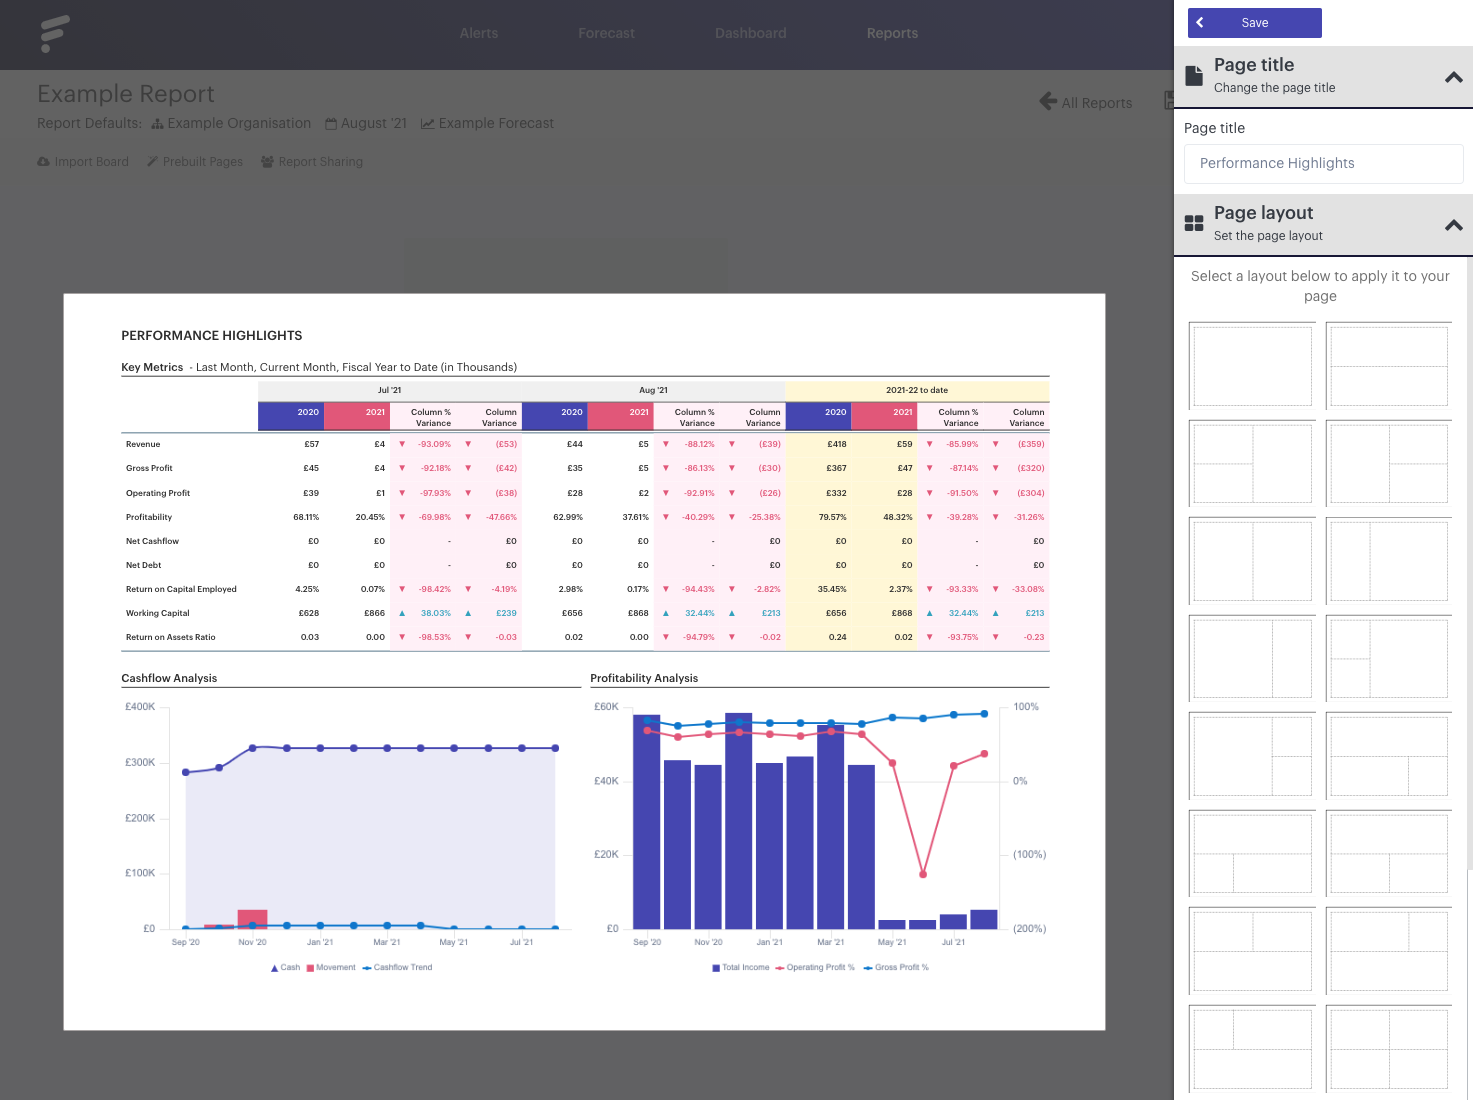
In our example below, we’ve gone for the more sensible, ‘Performance Highlights’, which you’ll find displayed in the top left of the page preview. This is also where our page’s title will appear when exported to PDF.
To change our page title to something else we simply need to edit the page title field on the top right-hand side. You’ll find this displayed after creating a new page from scratch or after clicking edit on an existing page:
- - - - - -
What are page layouts?
You’ll notice in our example above that our page is made up of blocks. In this case, three small blocks sharing the top half of the page and one, much wider box enjoying the entire bottom. These boxes are where we’re going to be adding charts, tables and text elements later.
The number, arrangement and size of each of these blocks is dictated by the page’s layout, which, in our screenshot above, we can freely alter by selecting a new layout from the page layout section on the right.
Every page has a layout, whether it’s a prebuilt page or one you’ve created from scratch, and we’ve given you 25 different layout options to choose from, allowing you complete control to make your reports, your reports.
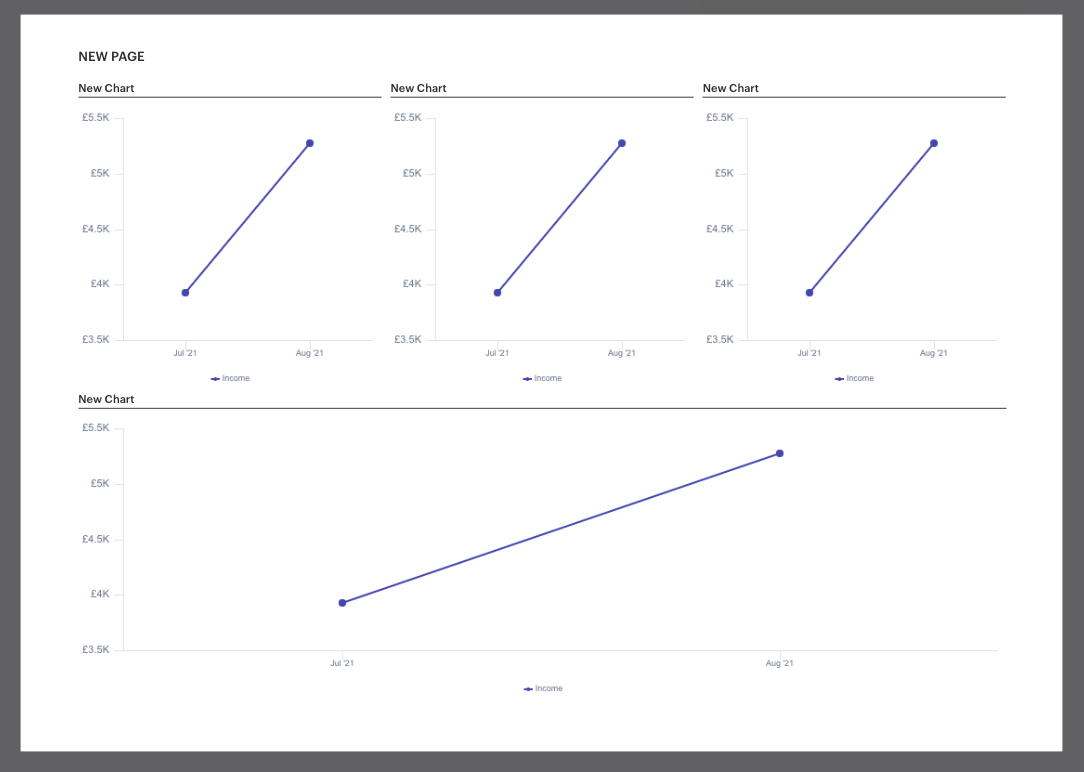
Each of the blocks within a page layout governs where and how many charts, tables and text elements can be added to the page. They also control the size of these elements – charts will automatically be resized to fill the block they’ve been added to, whilst the height and width of tables and text elements will be restricted by the maximum bounds of the block they’re within. In the example below, we’ve added four identical charts to our page. Notice how the size of the block controls the size of the chart:
Selecting page layouts
After clicking 'Edit' on a page or after creating a new page from scratch, you’ll find the option to change the page layout on the right-hand side of the screen. Whilst the page contains no charts, tables or text elements you can freely alter the page layout and see your changes reflected on the page preview to the left.
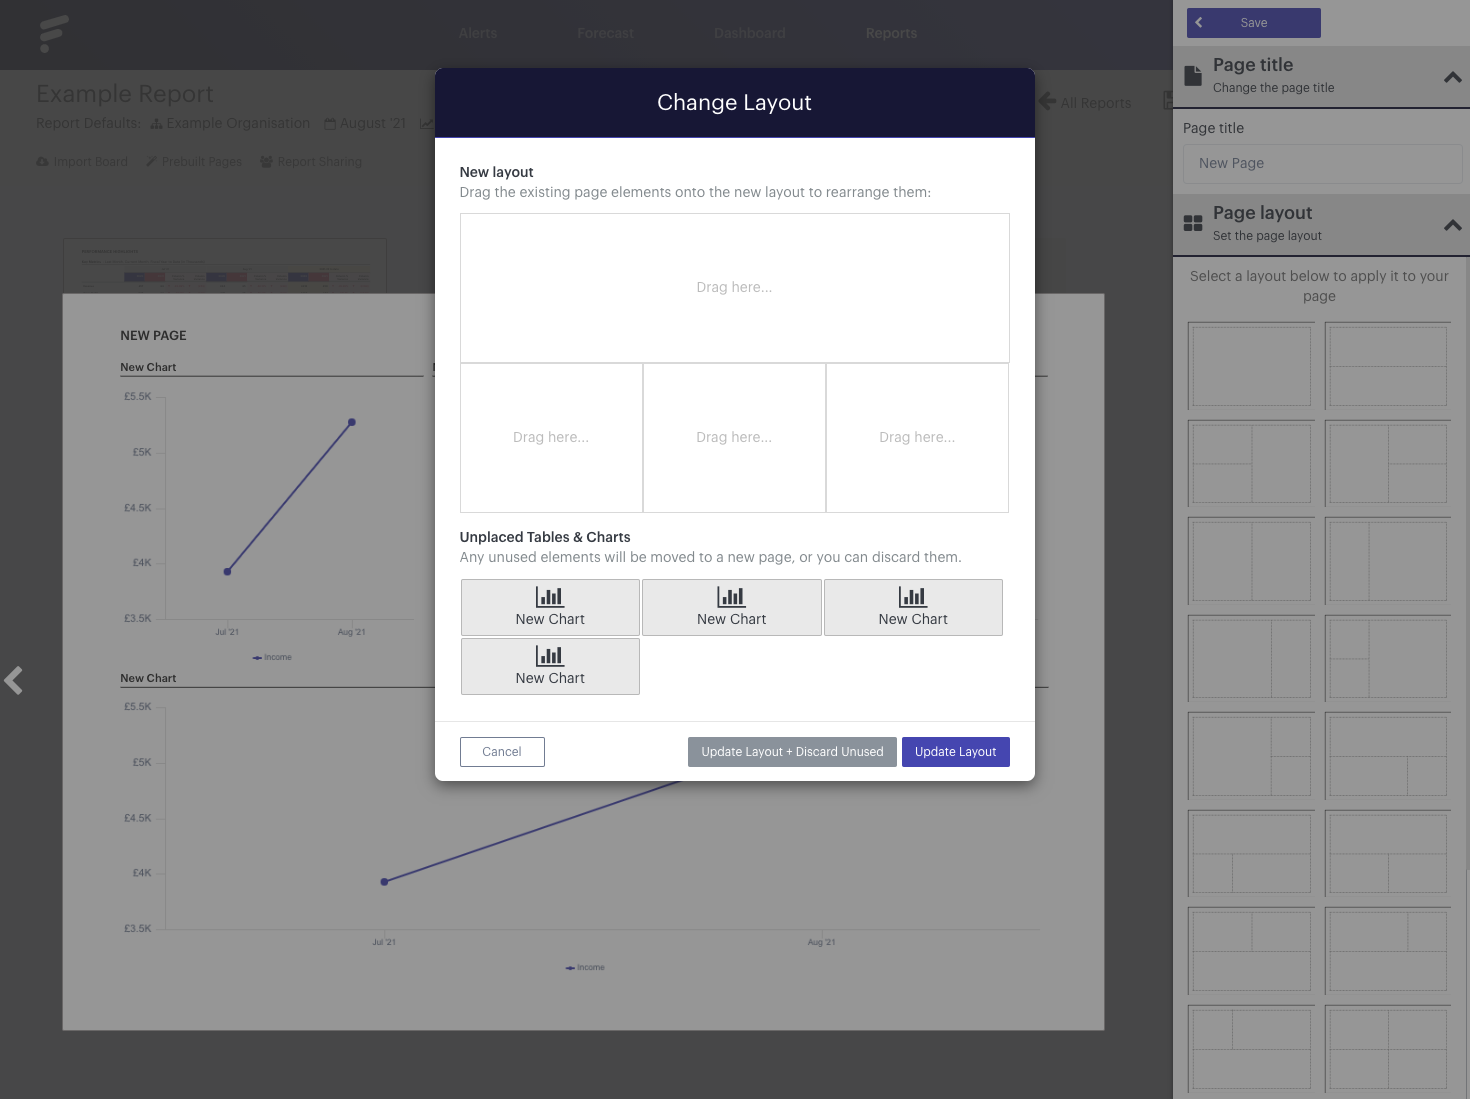
Editing the layout of pages containing charts, tables or text elements
When editing the layout of a page, which already contains at least one chart, table or text element, you’ll need to select where you want any existing items to appear in your new version – if you wish them to appear at all. If you’ve already added a page element, the change layout window will display when you attempt to make a change.
Within this window, you can drag and drop items where you’d like them to appear in your new layout. Once you’re happy, click 'Update Layout' to confirm your changes. If you don’t wish to move all existing items, then you don’t have to. Select 'Update Layout + Discard Unused' and any unplaced elements will be deleted: